Getting Started
Thanks for choosing Bond Blocks! The Addition & Subtraction Kit includes everything you need to get started.
Tip: The Getting Started instructions take approximately five hours to complete.
Complete the sections in order, over time. There is too much information to do in one day.
1. Unboxing
- Have a look through the physical materials provided with the kit such as the blocks, cubes, spinners, write-n-wipe sleeves.
- If you have had a kit handed over to you watch the unboxing video to get familiar with everything.
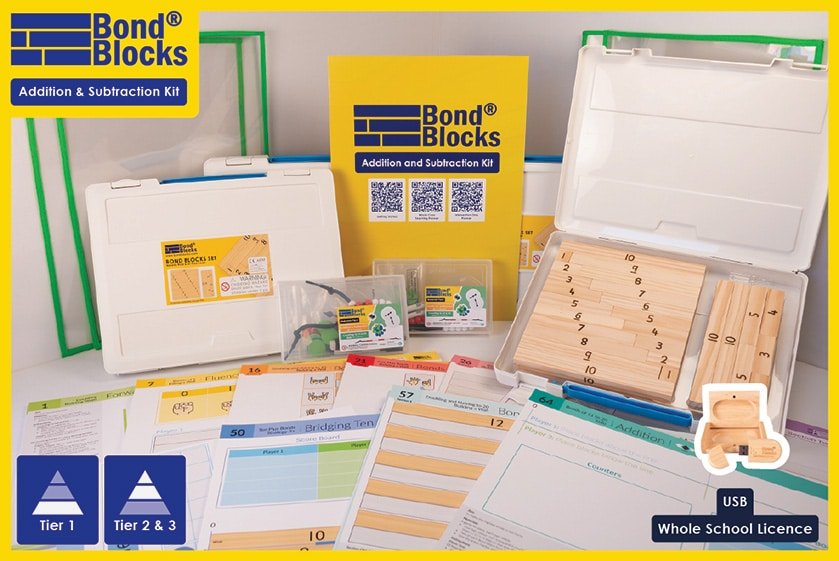
2. USB
Locate the USB that arrived with your kit. It comes in a little wooden box. This contains:
• The PDFs used to print the relevant activity boards for student use. (School Kits Only)
• The Introductory Video PL.
- These files are only available on the USB. They are the only two sets of files that are not on the website.
- Copy the USB to your school intranet.
- Watch the introductory Video PL either off the USB or on drpaulswan.com.au (see USB PL folder for how to claim).
3. Using bondblocks.com
The website contains the lessons and essential information.
Note, the Bond Blocks website is bondblocks.com, not Dr Paul Swan’s website.
- Get familiarised with the layout of your kit’s section of the Bond Blocks Website. Head to bondblocks.com and look at the top menu and click on Addition & Subtraction Kit to open the dropdown.
- The grey menu buttons are for teachers/assistants. They contain support books, downloads and videos that answer common questions. Familiarize yourself with Getting Started, Assessment and Implementation.
- The coloured square boxes match the activity boards. They contain the videos for each activity. These have been made to show to the students so that they receive consistent teaching from year to year. Scroll down on these pages to see the related mathematics, language and how to differentiate each activity.

4. Implementation Planners
Select the implementation planner that is relevant to you.
- Download and read the relevant planner.
- Watch the implementation videos.

Intervention Only
Tier 2 Small Group and
Intervention Tier 3 Individual Intervention.

5. Assessment
The test is located on the final pages of the Assessment Support Book.
- Download the Assessment Book
- Watch the video “Administering the Test”.
- Administer the test (Page 14/15)

6. Activity Boards
The last step is to print your activity boards and start using the planner
- Print the relevant activity boards for your students.
- Use colour (essential)
- Ensure your printer is set of ‘actual size’ or ‘100%’ (essential)
- Print 1x number of students for Individual Activity Boards. For example, 24 of each.
- Print half x number of students for Pair Activity Boards. For example, 12 of each.
7. Prepping Teacher Resources
Prepare these teacher resources to implement Bond Blocks using an “I do, We do, You do” approach.


